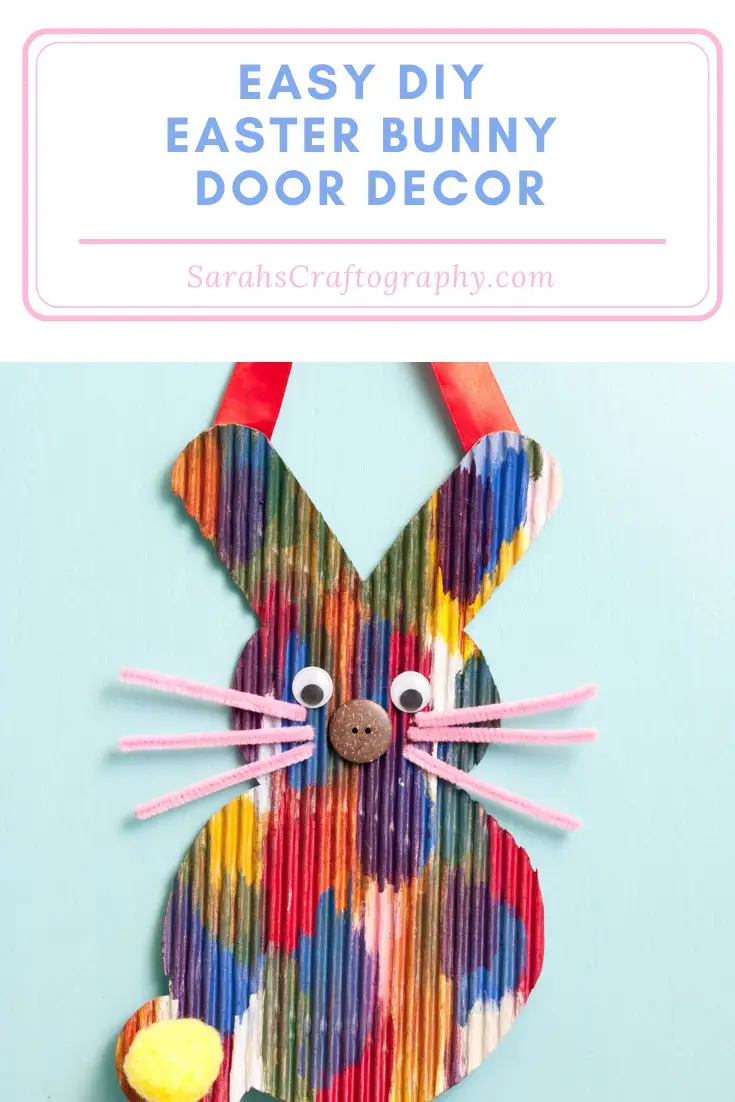
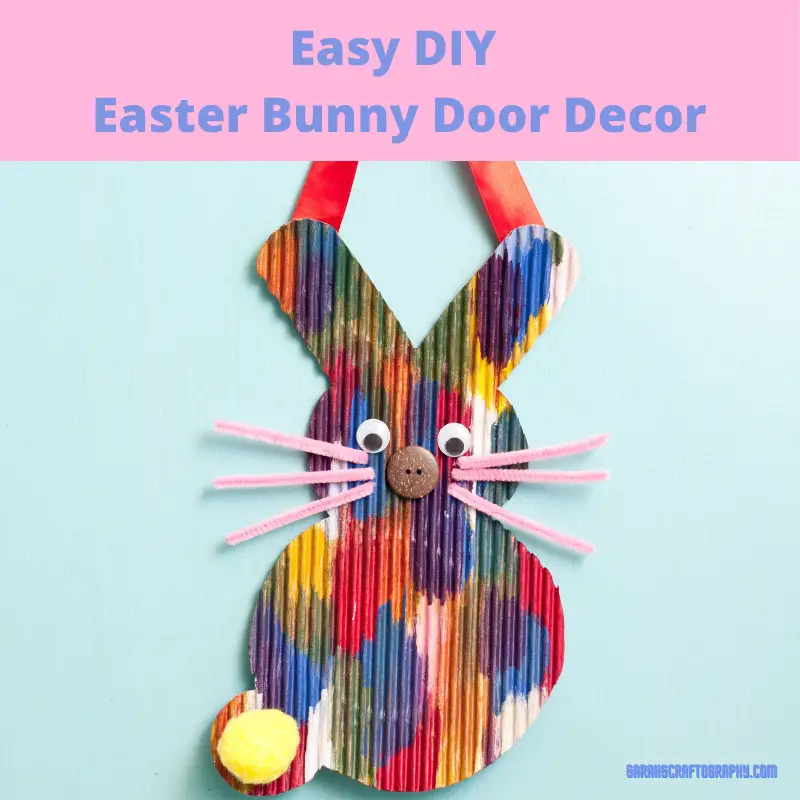
This DIY Easter Bunny Door Décor is not only easy to make, but a great way to teach your kids how to turn recyclable items into something useful they will treasure.
This is a great way to get your kids involved with their creative side and give you a chance to spend some quality time with them.
What better way to show others your kids art work then by including it in your holiday decorations.
Your kids will be so proud when they see their own Easter decorations on your front door.
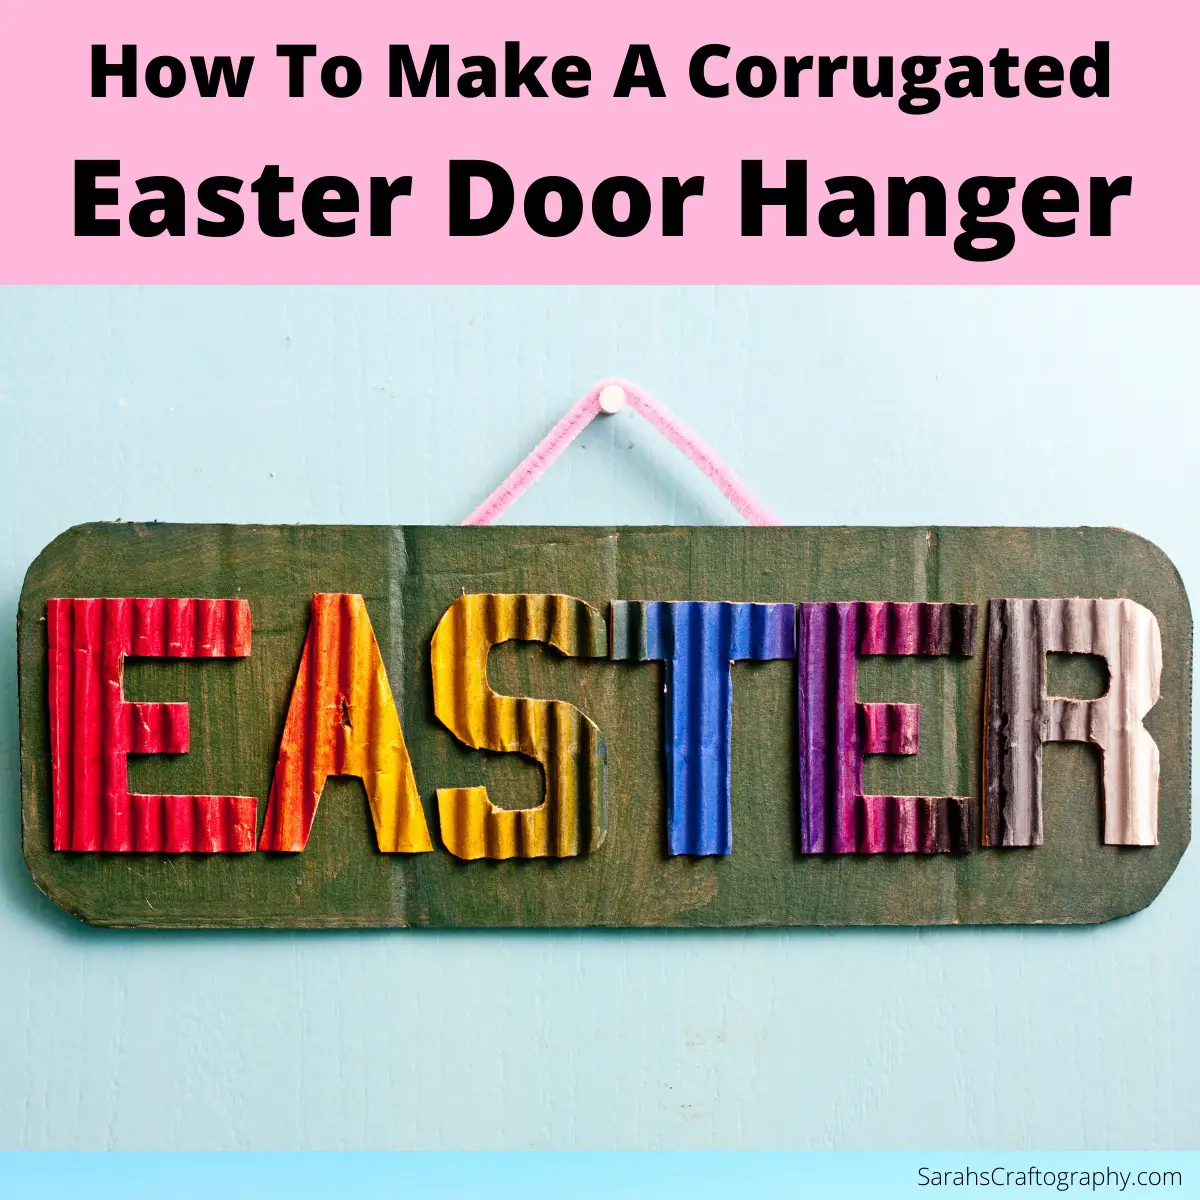
This absolutely cute and colorful door décor is made with recycled cardboard and can brighten your home for the Easter holiday.
Who Is The Easter Bunny Anyway?
The Easter bunny is a symbolic figure of the Easter season, but have you ever wondered what the story was behind this mythical creature that lays colorful eggs?
Let's talk about the Easter bunny and just why this cute little fluffy ball of fuzz has become one of the biggest traditions in America today.
By the way, this is a great story to share with your kids while they are making this Easter Bunny door decor!
Rabbits are an ancient symbol of fertility, rebirth and new life.
The first Easter bunny is said to have came from German immigrants in the 1700's in Pennsylvania.
The First Easter Bunny, Osterhase
The first Easter bunny's name was Osterhase and it was said that she laid colorful eggs for well-behaved children.
Children would make beautiful nest for Osterhase to lay eggs in for them they would sometimes leave carrots in case the little bunny got hungry.
As the tradition spread across American the bunny's deliveries expanded from just eggs to chocolates and other treats and even toys.
Which is why the Easter bunny is often depicted carrying a basket full of eggs, candies or toys.
Adding a basket of eggs made from cardboard or construction paper is a great way to personalize your Easter Bunny door decor.
Easter Decorations Started Around The 13th Century
Around the 13th century Easter decorations began to emerge.
Easter bunny ornaments and decorations are found in many homes during the Easter season.
As part of the celebration, we will be making an Easter bunny door décor that is easy to make, yet uses inexpensive materials.
Gather the needed supplies, along with your kids and let's get started making this cure Easter Bunny door decor.
[mv_create key="10" thumbnail="https://sarahscraftography.com/wp-content/uploads/2021/03/blog-post-800-x-800.jpg" title="Easy DIY Easter Bunny Door Decor" type="diy"]
Additional Ideas For This Easter Bunny Door Decor
This Easter bunny door décor can also be displayed on the window and even serve as a wall décor.
You can make several Easter bunnies of different size and design.
This Easter Bunny door décor craft tutorial is a perfect family bonding activity that will definitely enhance your child's creativity.
I hope you like this Easter Bunny door décor and enjoy it for years to come!
[mv_create key="9" layout="circles" thumbnail="https://sarahscraftography.com/wp-content/uploads/2021/03/eggeh2.png" title="Easter Decor And Ideas" type="list"]
Kevin Browning says
This was a very informative post. I need to try this with my kids!
Sarah Stults says
Thank you for your response to this blog. I am so glad you enjoyed reading it.