
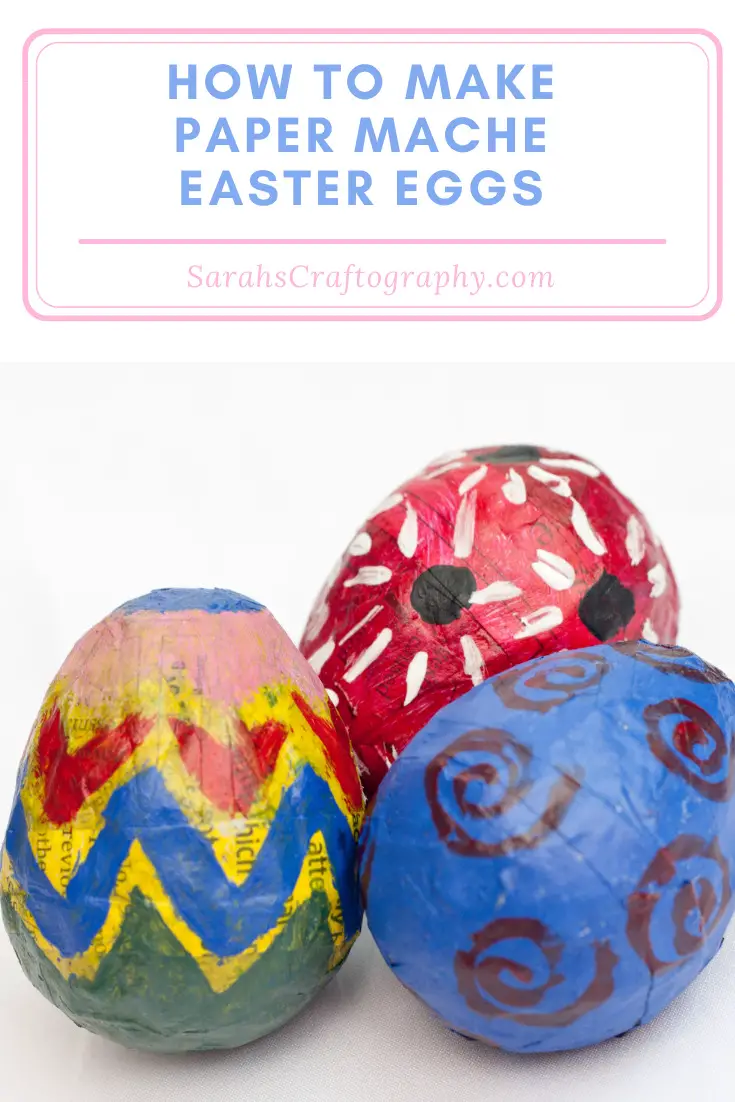
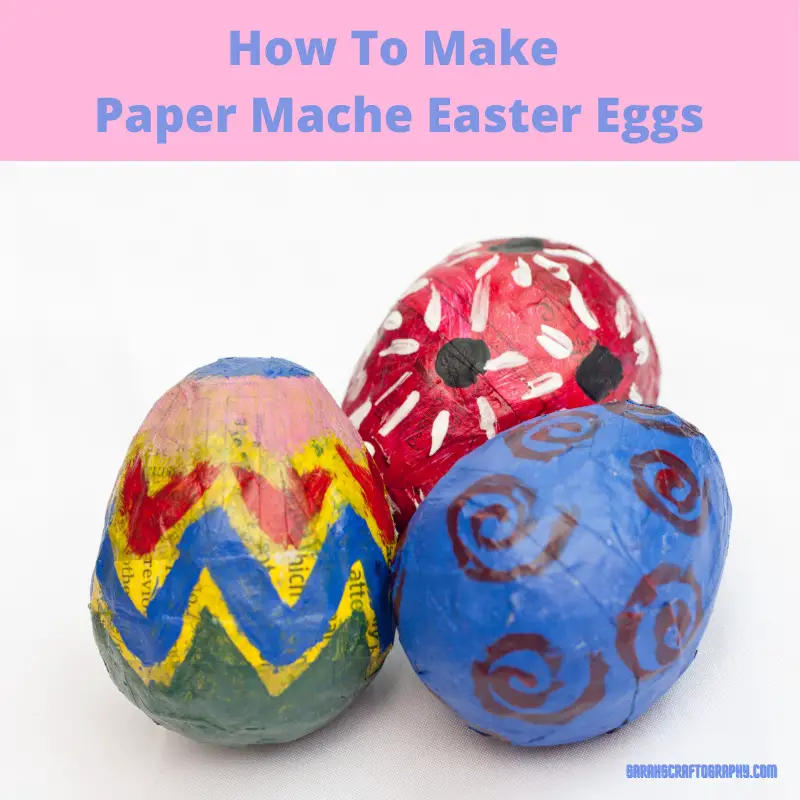
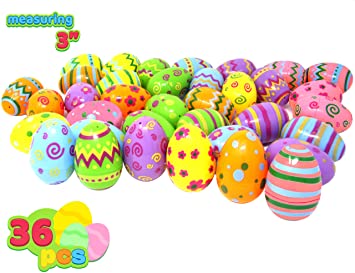
These DIY Paper Mache Easter Eggs are absolutely a cute idea for Easter.
They can be a little messy, but defiantly a must do with the kids.
There's nothing better then rolling up your sleeves and get a little messy once in awhile and find that creative side inside you.


These Paper Mache Easter Eggs Are Easy To Make
They are fairly simple but do take a good amount of time to make.
With this craft you will get to chose your own designs when you paint the eggs and kids will just love that they get the freedom to decorate these eggs the way they want and show everyone around them all the wild designs they can come up with.
Get creative and see how many different colors and designs you can make.
Use them for decorations or even an Easter egg hunt instead of the traditional plastic eggs for a unique touch to your Easter Celebrations.
About The Paper Mache Easter Eggs
Easters eggs are commonly seen during the season of Eastertide.
These eggs symbolize rebirth and fertility.
Easter eggs in the Christen world symbolize the empty tomb when Jesus was resurrected.


Great For Easter Egg Hunts
During the Easter season, Easter egg hunting is said to be the most popular game.
Different kinds of eggs are used, and paper mache eggs are one of them.
These eggs help you and your children's imagination wander.
This maybe a time consuming activity, but this will produce perfectly cute results.
Let's begin making Easter eggs to go along with our other Easter decor such as the Easter door decor!


How To Make Paper Mache Easter Eggs
Learn how to make paper mache Easter Eggs, a brief history of the Easter Egg and how to incorporate your project into your Easter celebration.
Materials
- newspapers
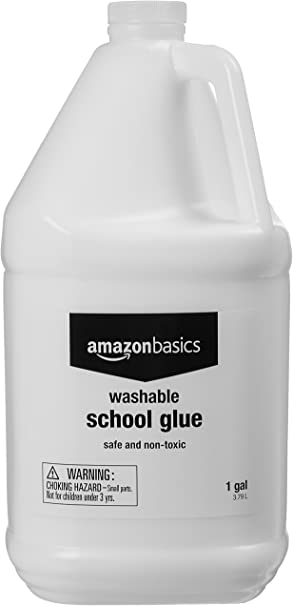
- white glue
- bowl
- water
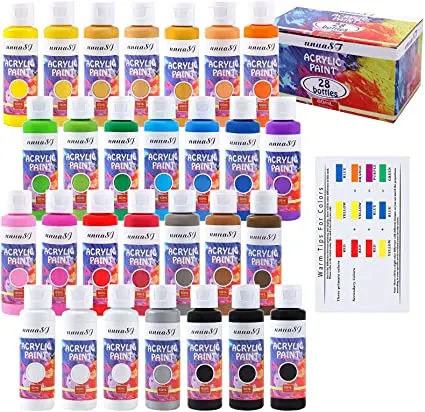
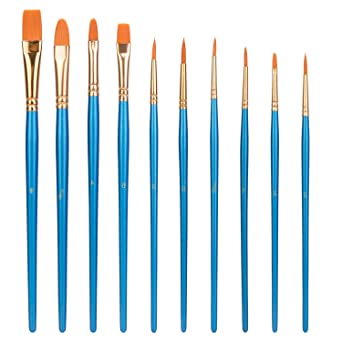
- acrylic paints
- plastic egg
Instructions
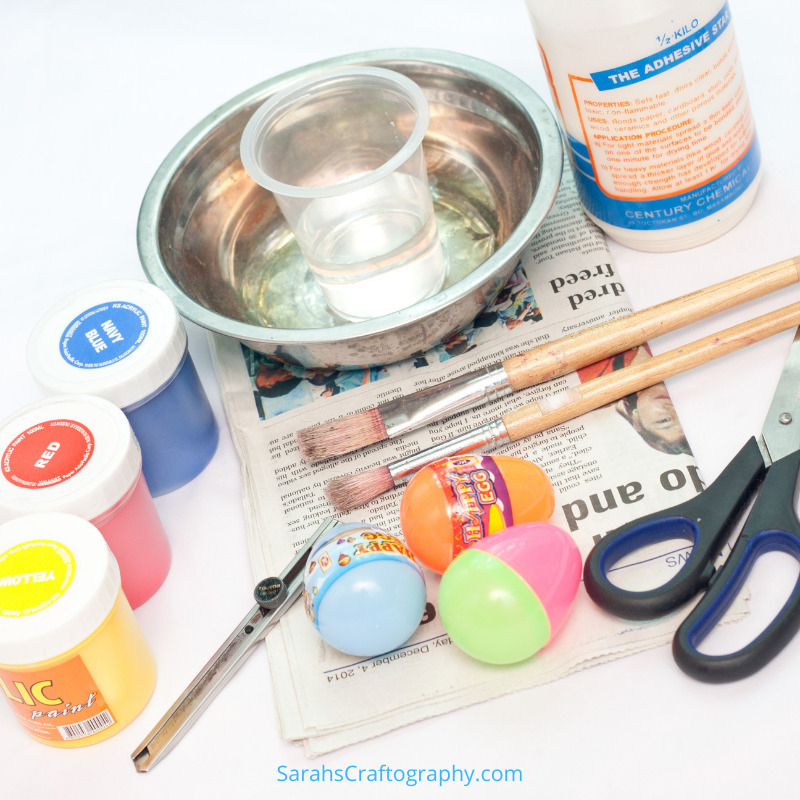
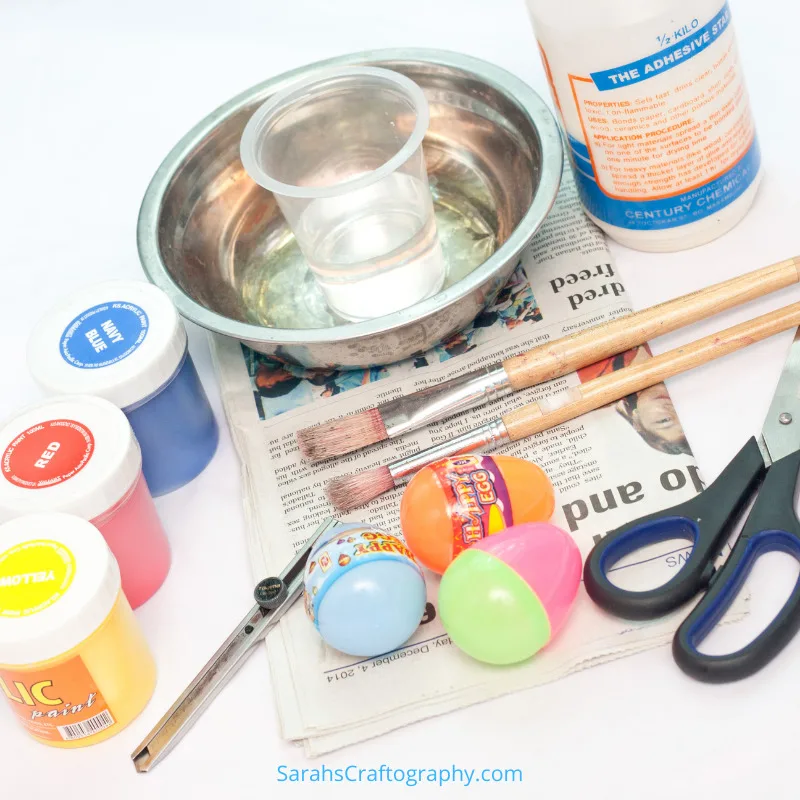
- Prepare all the materials needed for this tutorial.
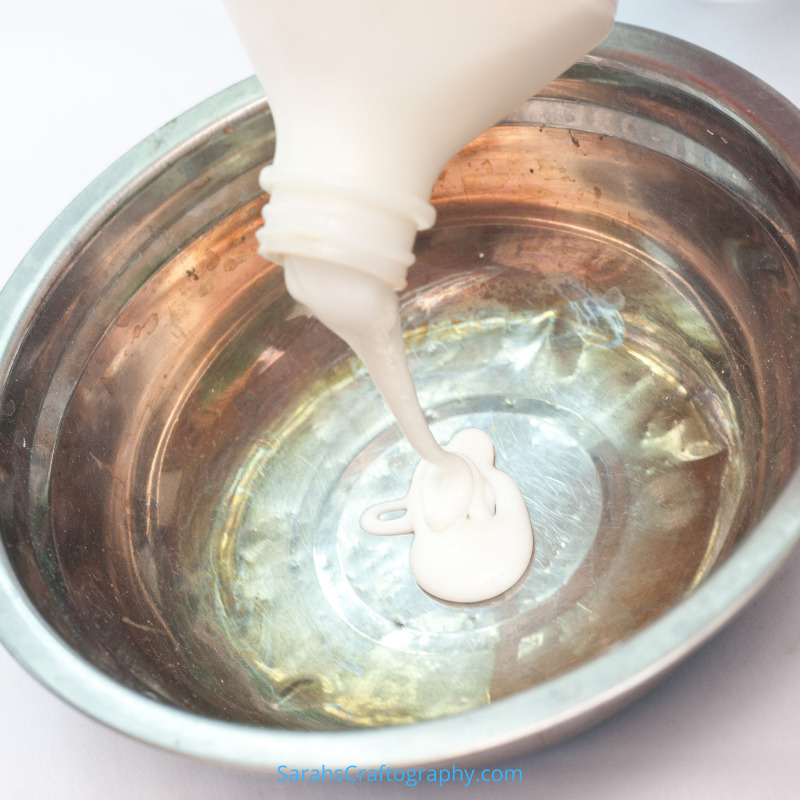

- Pour a considerable amount of white glue in a bowl.
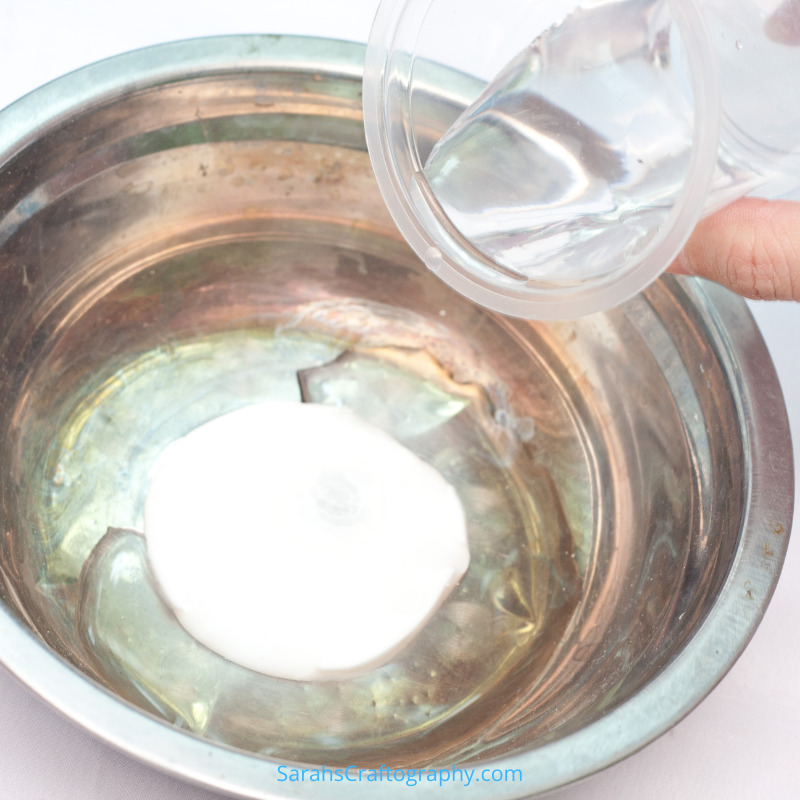

- Pour water in the bowl. The ratio of white glue to water should be 3:2.
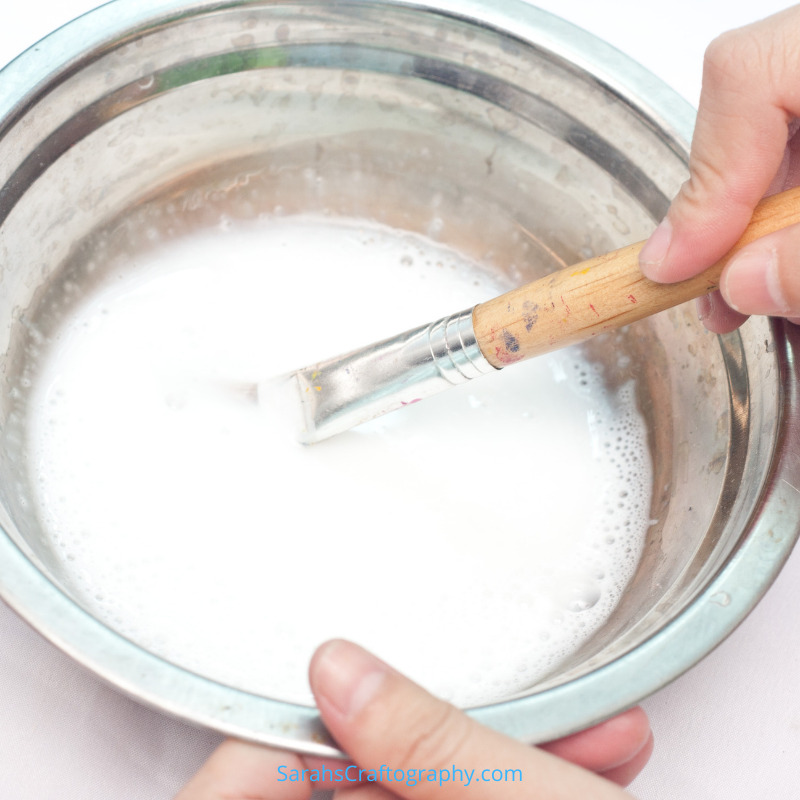

- Stir the mixture until the glue and water mix.
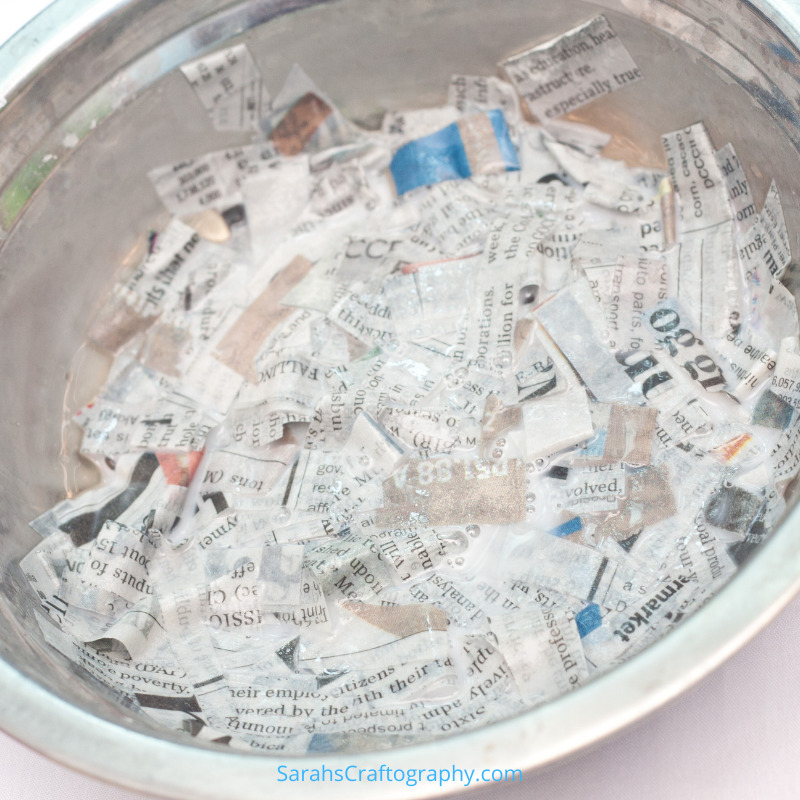

- Cut small strips of newspaper and put it in the glue mixture.
Completely submerge the newspaper strips in the mixture for a better mache mixture.
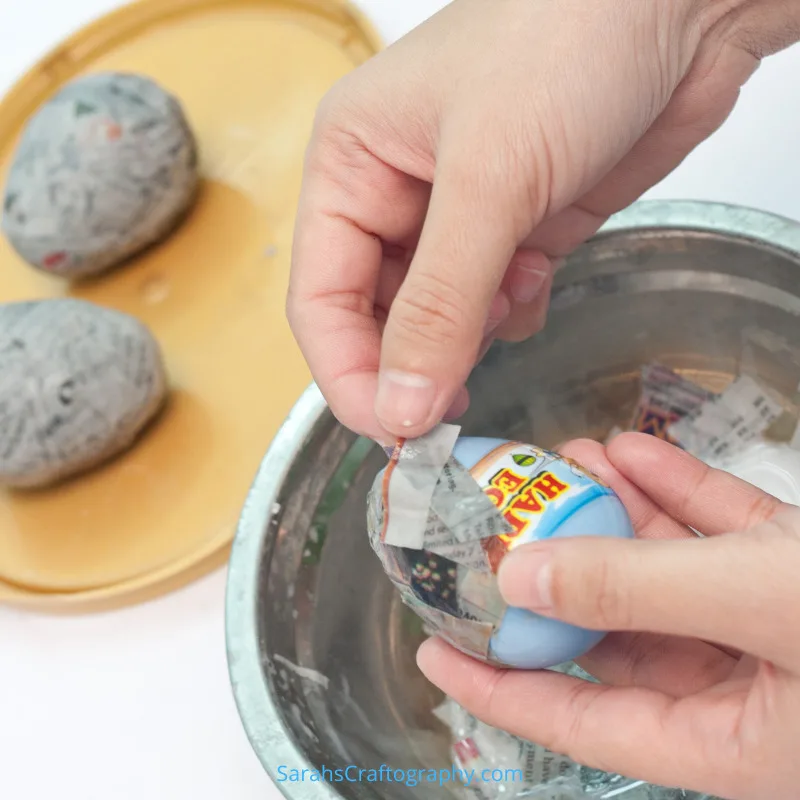
- Completely cover the plastic eggs with the glued paper strips. Continue doing this until you achieve the thickness of the mache layers.
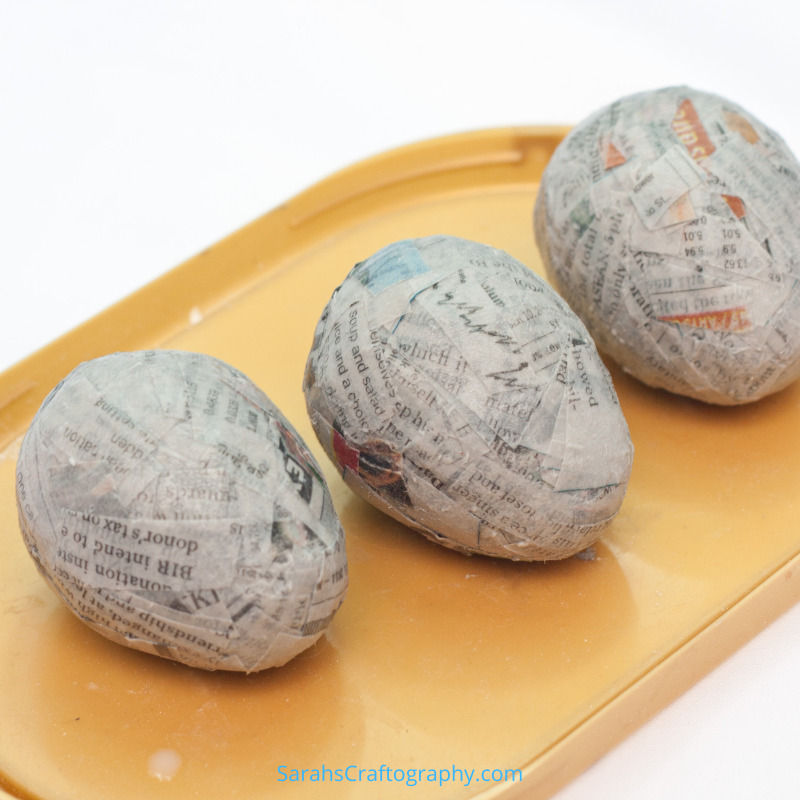

- Let the eggs dry for a day or two. (Observe that the eggs will be as hard as the rock once you complete the drying process.)

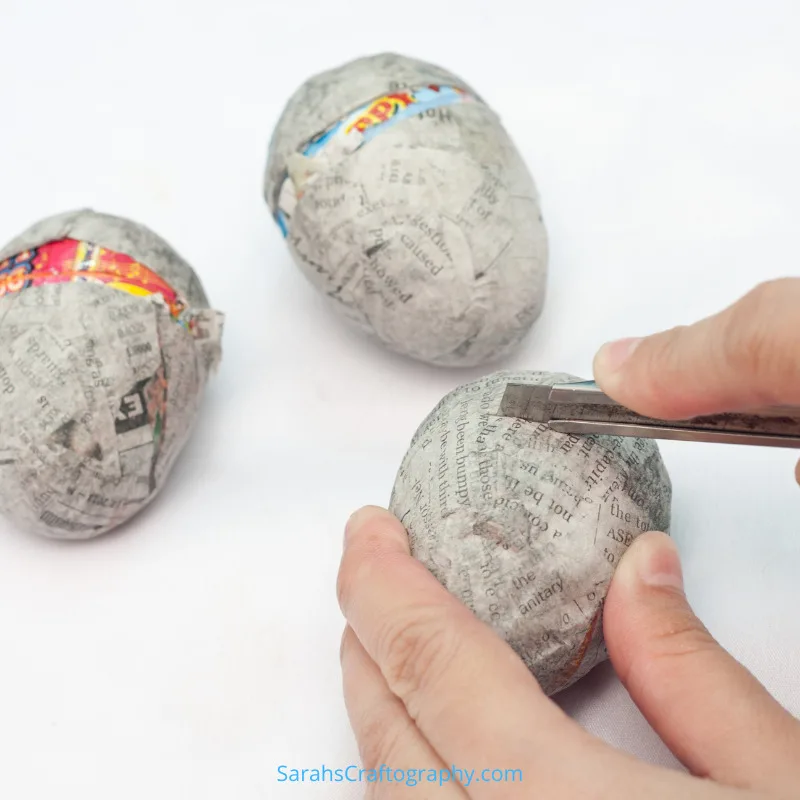
- Using a cutter, carefully cut the mid section of the egg.
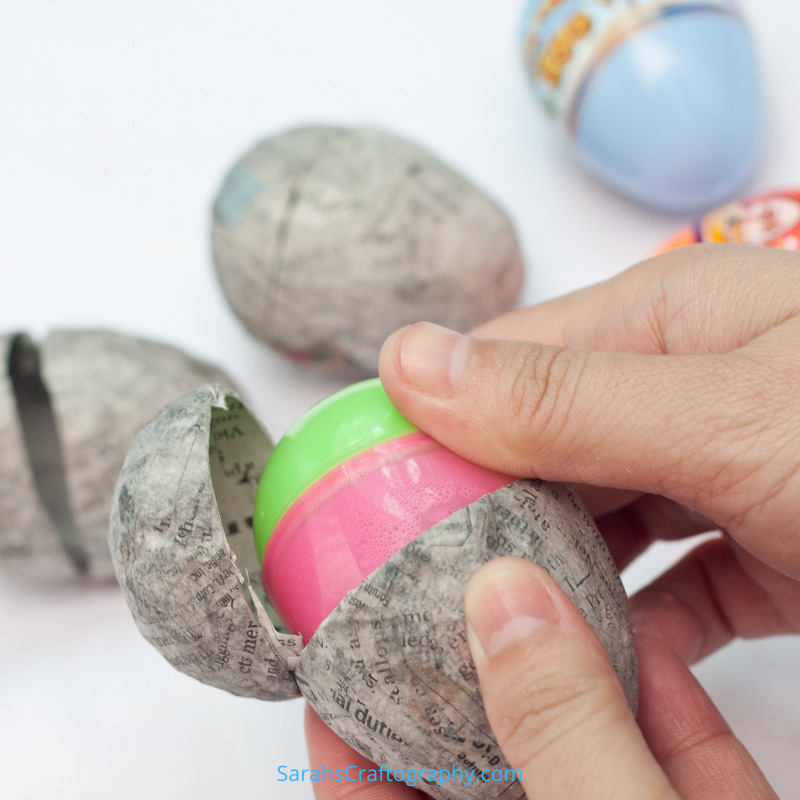

- Remove the egg mache on the egg plastic.
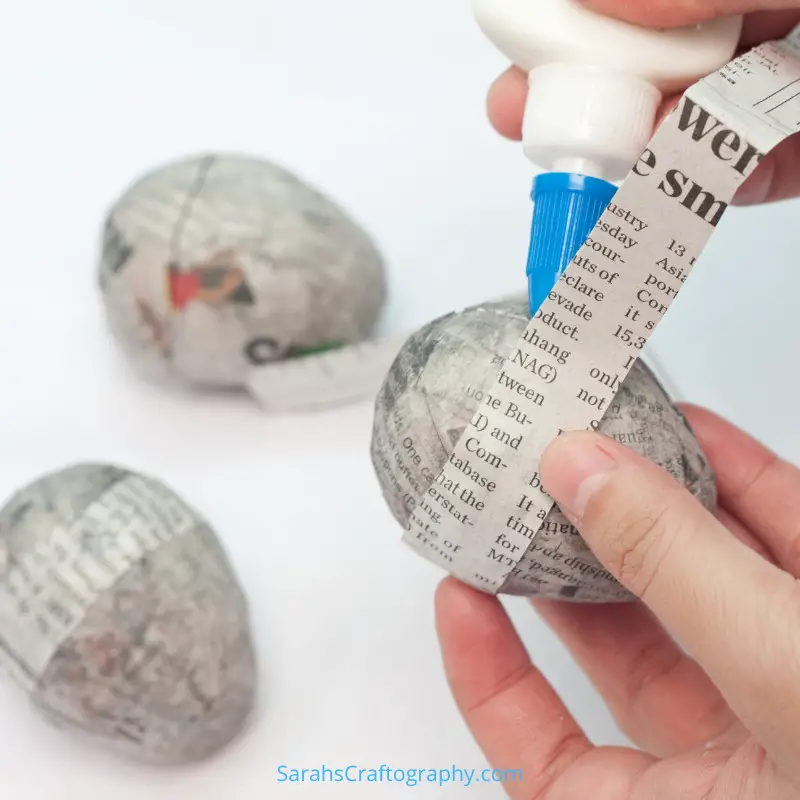

- Cut a long strip of newspaper and use this to seal the egg mache together. Use white glue for this. Smoothen out the sides of the new strip, so that the sealer strip wouldn’t be obvious. Let it dry for 5 to 6 hours.
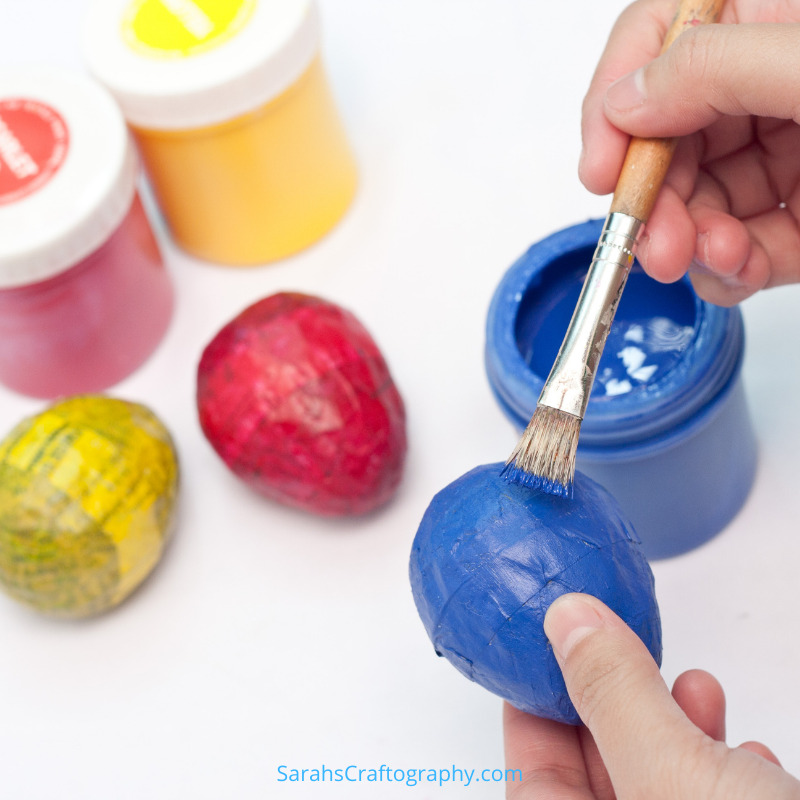
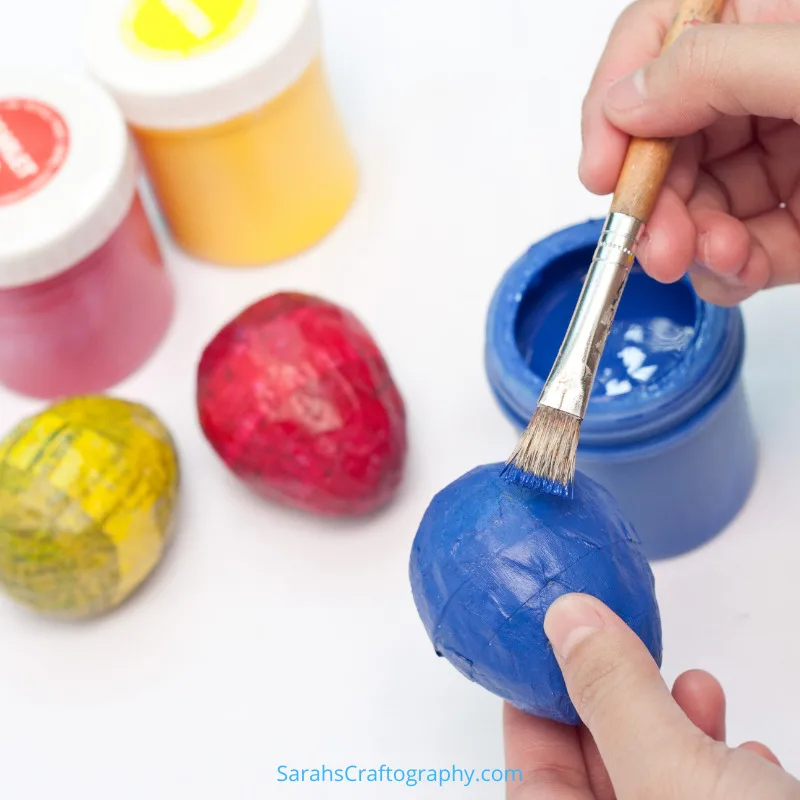
- Paint the eggs. Do a second coat for better results.
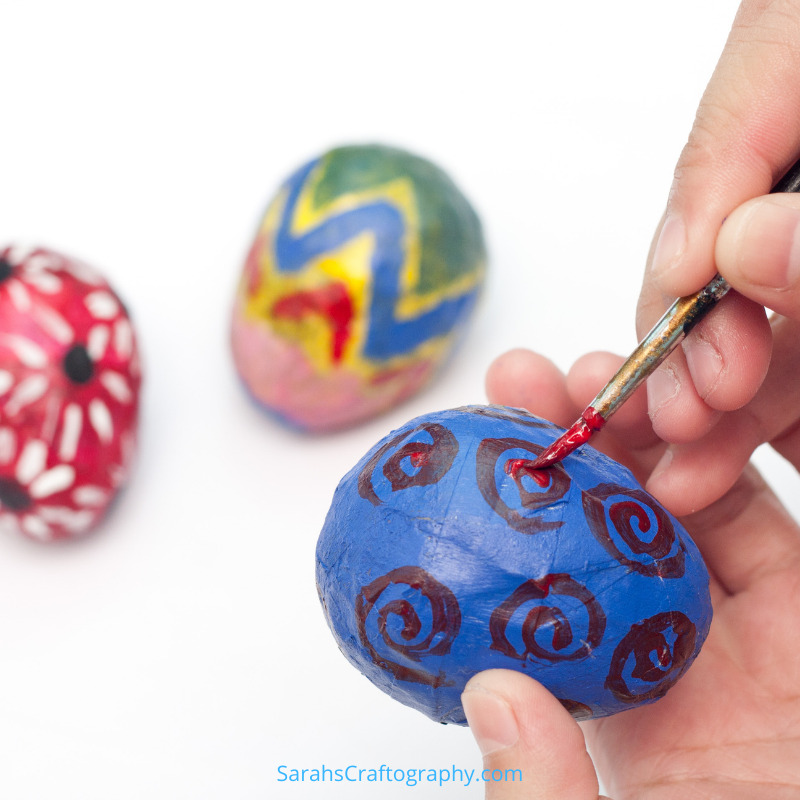

- Paint various designs on the egg. This is your own design
- Finally! You now have a paper mache Easter egg!
Recommended Products
As an Amazon Associate and member of other affiliate programs, I earn from qualifying purchases.


Ideas For Using The Paper Mache Easter Eggs
The colorful paper mache Easter eggs can be used as decoration, or as part of the Easter egg hunting game.
You can also put some treats inside such as small chocolates or gummy bears, that will make these eggs more inviting to kids.
The creativity of the kids is also challenged in this activity, since they get to put some designs on the egg after it is made.
So what are you waiting for?
Start this fun-filled activity now!
Easter Decor And Ideas


How To Make Miniature Easter Egg Potted Flowers
Learn how to make miniature Easter egg potted flowers for gift giving and home decor that will last for many holidays to come.
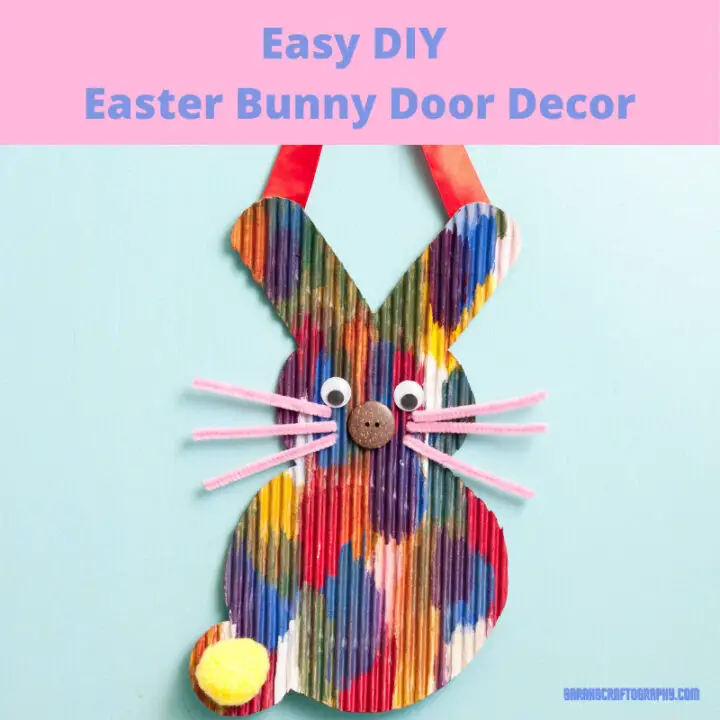

Easy DIY Easter Bunny Door Decor
This easy corrugated cardboard Easter Bunny Door Decor is a great way to let your kids help create Easter Decorations for your home.

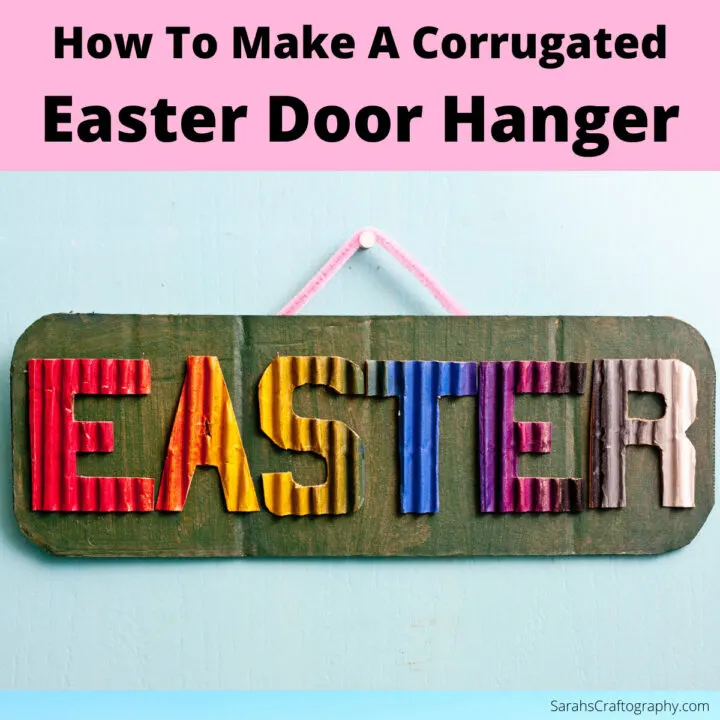
How To Make A Corrugated Easter Door Hanger
This DIY corrugated Easter door hanger is a fun project for kids and ideal for hanging on your front door during the Easter Holidays.

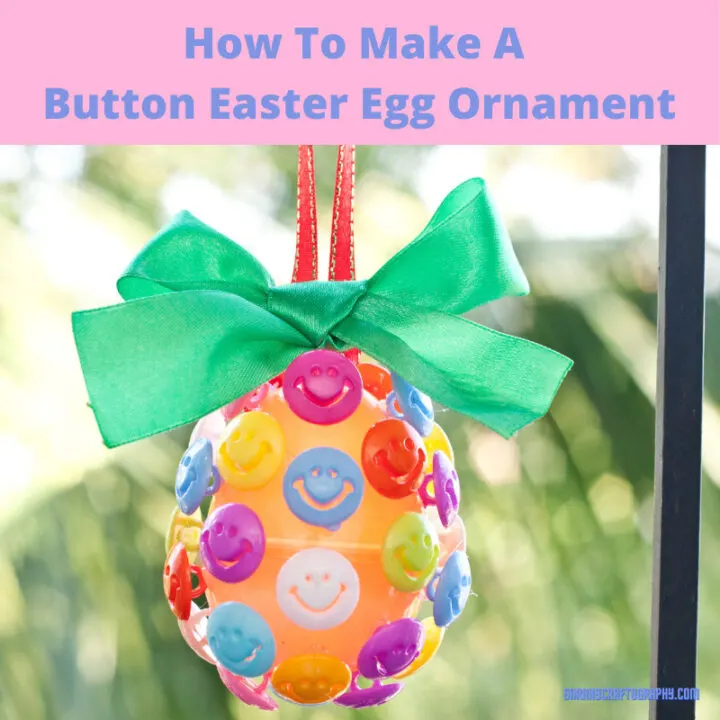
How To Make A Button Easter Egg Ornament
This cute button Easter Egg ornament is perfect for kids to make then use to decorate Easter Trees or hang in the window.
How To Make Paper Mache Easter Eggs
Learn how to make paper mache Easter Eggs, a brief history of the Easter Egg and how to incorporate your project into your Easter celebration.
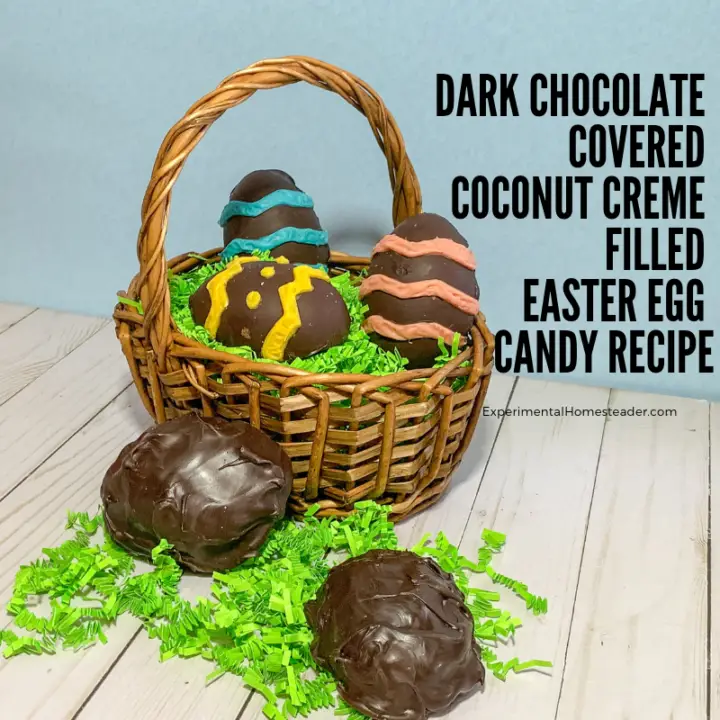
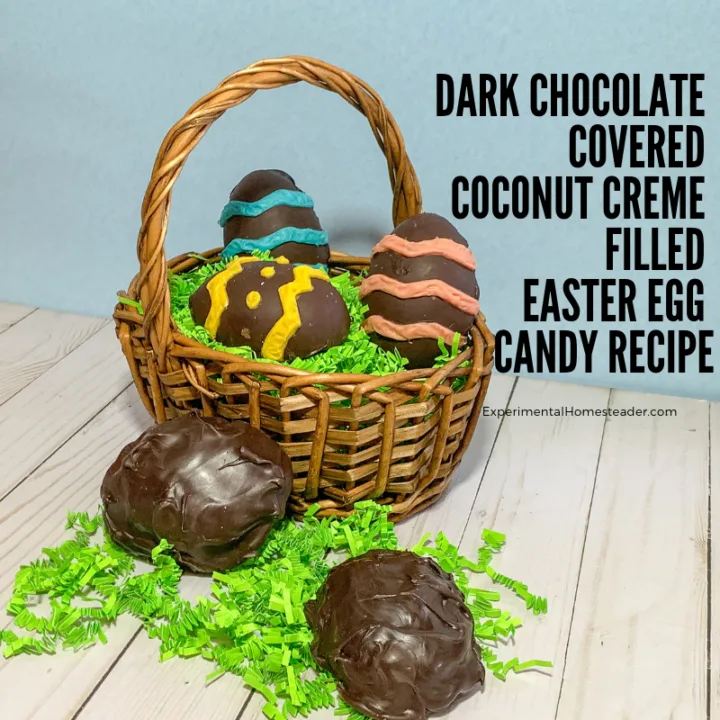
Dark Chocolate Covered Coconut Creme Filled Easter Egg Candy Recipe
Discover two different ways to make this delicious dark chocolate covered coconut creme filled Easter egg candy recipe. It's a lot easier than it looks!


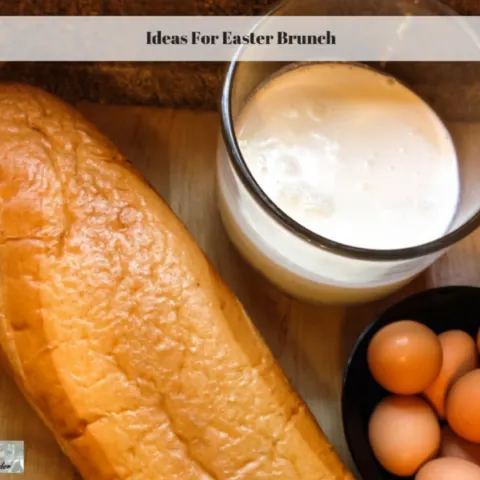
Ideas For Easter Brunch
Check out these ideas for Easter Brunch. These Easter Brunch menu ideas are ones you can make ahead of time or are quick and easy to prepare.

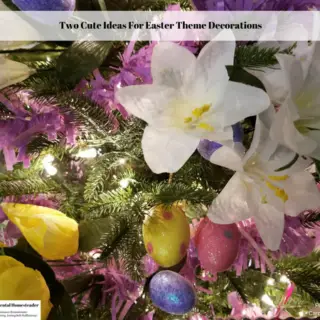

Two Cute Ideas For Easter Theme Decorations
Check out these ideas for Easter theme decorations. Make your own Easter tree ornaments or repurpose items you already own to make your own unique Easter tree decorations! You are sure to love these Easter tree ideas!
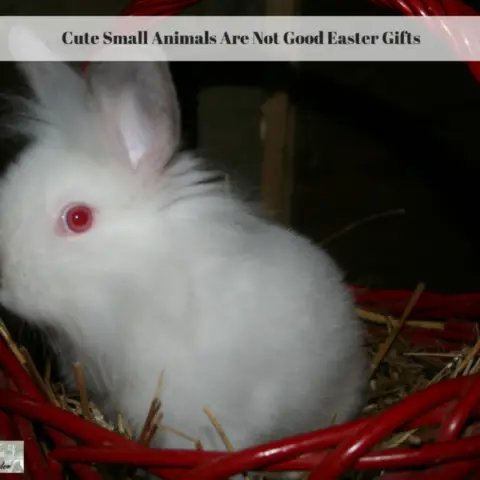

Cute Small Animals Are Not Good Easter Gifts
Cute small animals are often brought home as Easter gifts. Consider the animal welfare issues before doing this and remember cute small animals grow up.
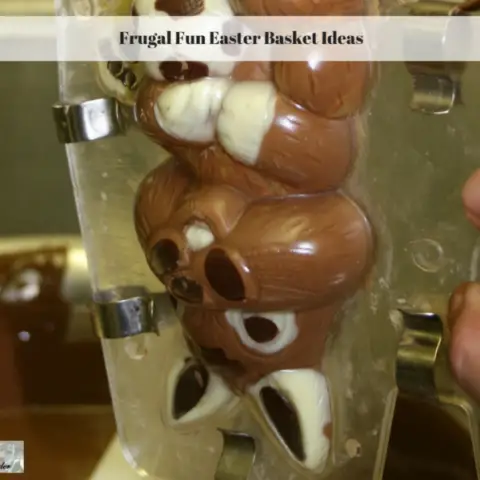

Frugal Fun Easter Basket Ideas
When it comes to finding cute cheap Easter Basket ideas be sure what you choose are items kids enjoy! Check out these fun Easter Basket ideas!

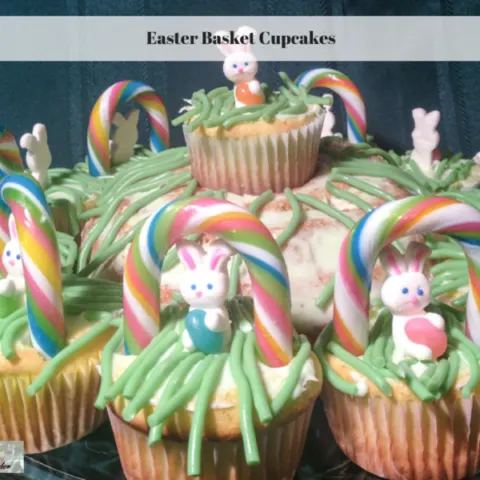
Easter Basket Cupcakes
This Keylime cupcake cake recipe makes a gorgeous centerpiece. These Easter basket cupcakes make perfect Easter desserts for kids of all ages!
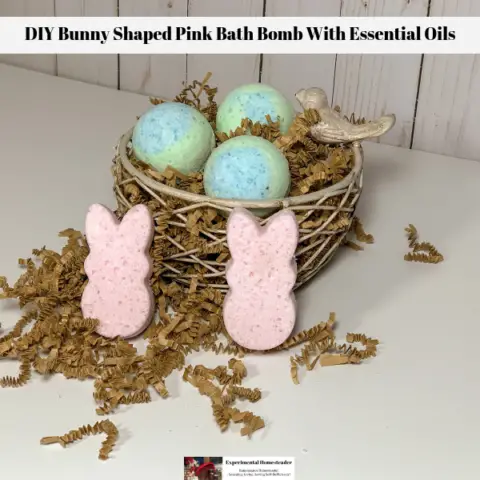

DIY Bunny Shaped Pink Bath Bomb With Essential Oils
This DIY bunny shaped pink bath bomb is scented with lavender and magnolia essential oils making it perfect for spring. They also make a great Easter gift!